- Locate where dust escapes—floorhead, hose joint, collector seam or exhaust—because each point indicates a different pickup or containment problem.
- A full or poorly seated bin or bag, missing or damaged filter, blocked airway, cracked hose, failed seal or rotating brush can return debris even when the motor still runs.
- Disconnect power before inspection, use every required filter in the correct orientation, and stop if fine hazardous dust, motor-side contamination or a damaged housing exceeds user-serviceable limits.
In this article 13 sections
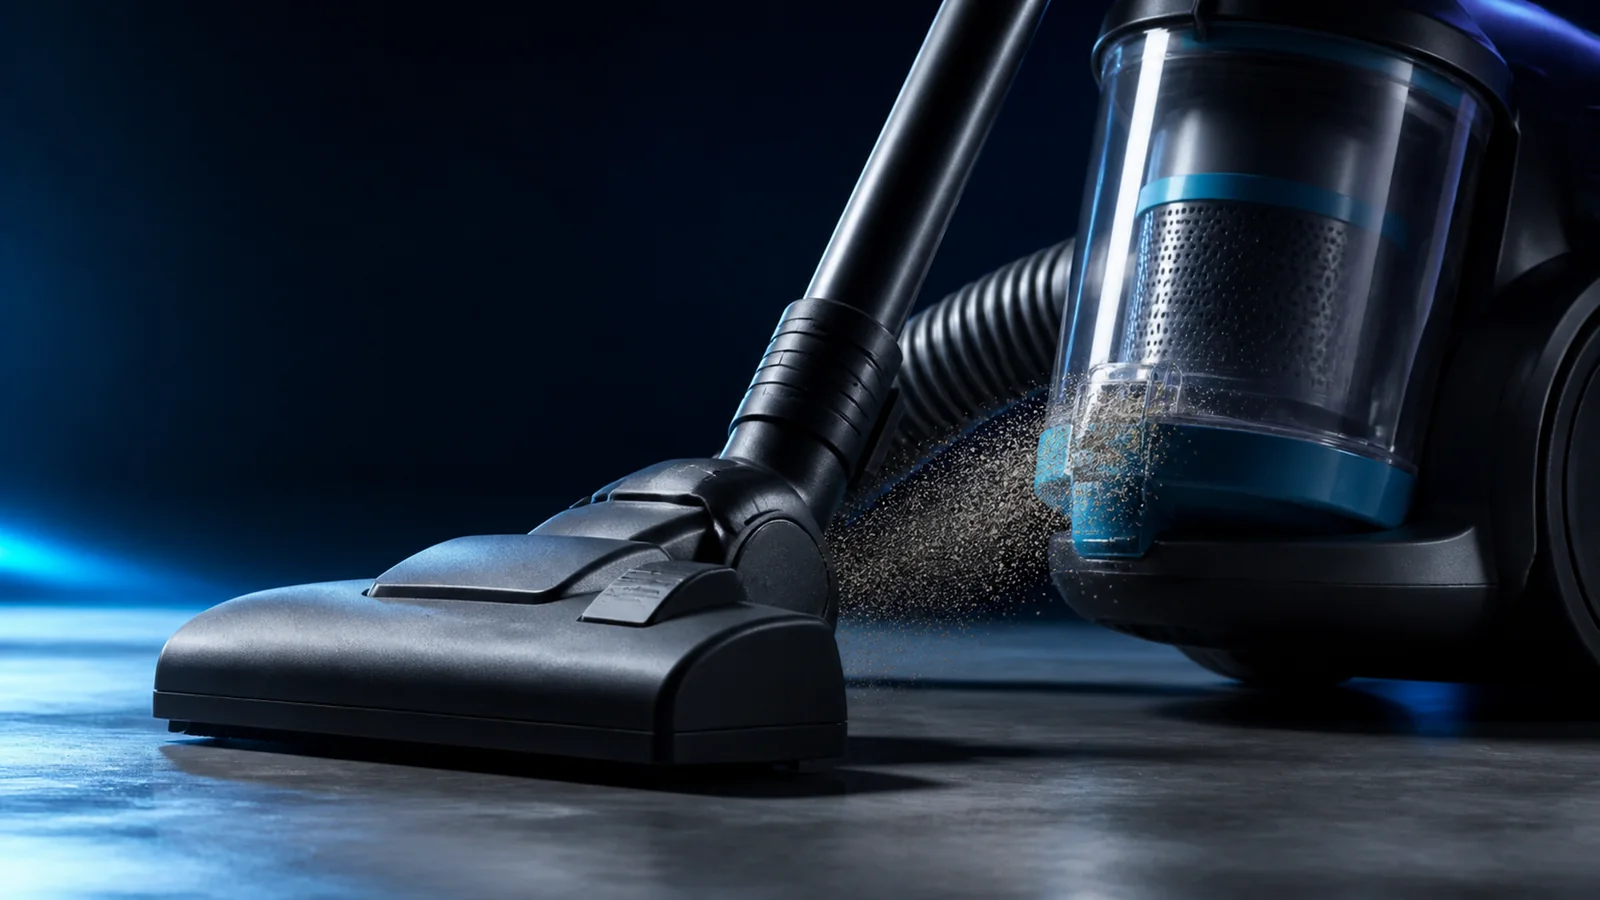
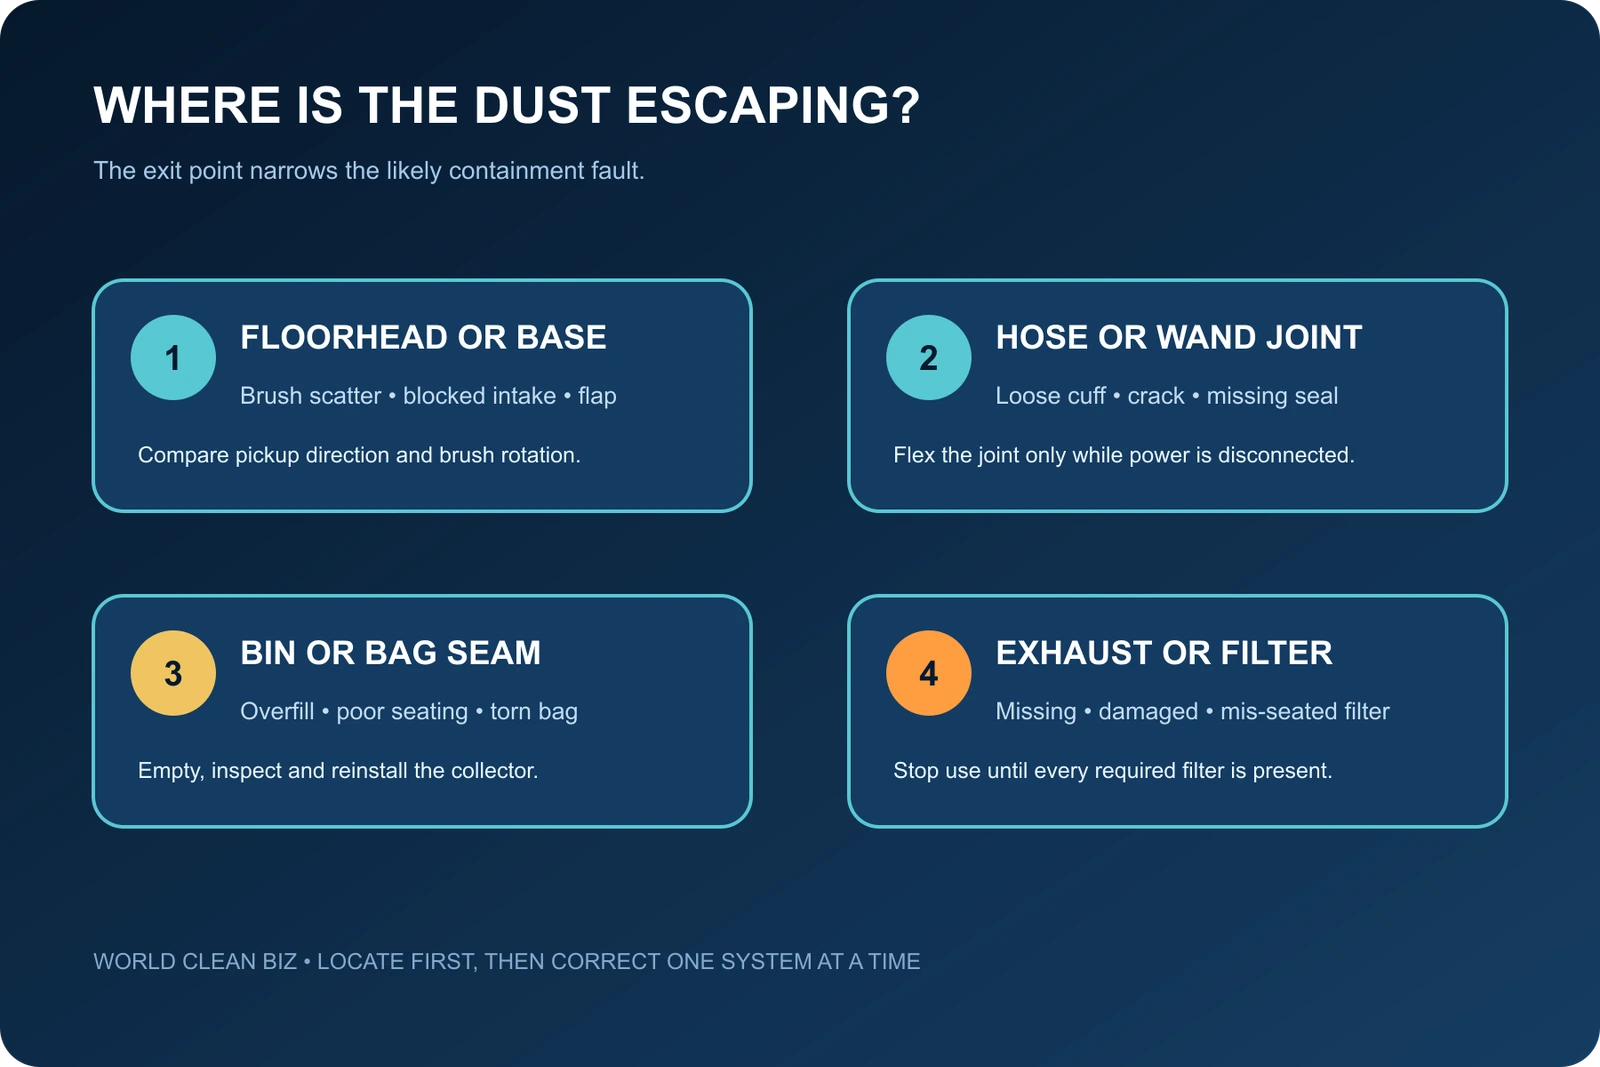
If your vacuum cleaner is blowing out dust, first identify where the dust escapes. Debris scattered by the floorhead often involves brush action, an obstructed intake or the wrong setting. Dust at a hose, bin or bag joint points toward a loose connection or seal. Dust from the exhaust can involve a missing, damaged, loaded or incorrectly installed filter—or material the vacuum was not designed to contain.
Switch off and disconnect power before opening the collector, filter compartment, hose or floorhead. Do not keep vacuuming fine dust while trying to see the leak; continued operation can spread contamination and move material toward the motor.
Dust Escape Points at a Glance
| Where dust appears | Leading area | First safe check |
|---|---|---|
| Scattered ahead of the floorhead | Brush rotation, floor setting, intake obstruction or debris size | Inspect the floorhead and test the correct setting |
| Dirt falls from the nozzle after shutdown | Blocked airway, full collector or failed non-return flap | Empty the collector and clear the intake path |
| Dust leaks at a hose or wand joint | Loose cuff, crack, damaged seal or incomplete latch | Reconnect and inspect the joint with power off |
| Dust leaks around the bin or bag door | Overfill, torn bag, poor seating, dirty gasket or broken latch | Remove, inspect and reinstall the collector |
| Fine dust exits the exhaust | Missing, damaged, wrong or mis-seated filter; unsuitable material | Stop use and verify every required filter |
| Dust remains after complete reassembly | Cracked housing, internal seal or motor-side contamination | Use authorized service |
Locate the Escape Point Before Cleaning Anything
Observe the machine from a safe distance for only as long as needed to identify the location. Note whether the dust appears:
- as the floorhead moves forward or backward;
- when the powered brush starts;
- at a hose cuff, wand joint or accessory connection;
- around the bin lid, bag door or collector inlet;
- from an exhaust grille;
- only after the vacuum is switched off or lifted;
- only with fine powder rather than ordinary household debris.
Then disconnect power. For a corded product, unplug it. For a cordless product, switch it off and remove the battery only if the manual permits user removal.
1. Separate Brush Scatter from an Exhaust Leak
A rotating brush can throw lightweight debris forward or sideways before the intake captures it. This is common when the brush is aggressive on hard floor, the floorhead is lifted, the wrong floor mode is selected or a large object cannot enter the intake.
With power disconnected, check for:
- a brush setting intended for carpet rather than hard floor;
- a floorhead height that prevents the intake from sealing correctly;
- a blocked nozzle throat or floorhead neck;
- hair and thread changing the brush profile;
- a damaged squeegee, sole plate or intake flap;
- an oversized object bouncing in front of the nozzle.
BISSELL support for compact upright vacuums distinguishes scattering caused by the rotating brush from loss of collection performance. That behavior is model-specific, but the diagnostic distinction is broadly useful: dust thrown at floor level is not automatically an exhaust-filtration fault.
If the brush does not rotate correctly, follow the WCB vacuum brush-roll troubleshooting guide.
2. Empty and Reinstall the Bag or Bin
An overfilled collector can block the inlet, disturb seals and push fine material into the filter system. A torn bag, poorly seated collar, open bin lid or collector installed at an angle can create a direct dust path.
Check that:
- the correct bag or bin is installed for the model;
- the collector is below the specified fill line;
- the bag has no tear and its collar is fully seated;
- the bin lid and emptying door are closed and latched;
- the separator, screen and shroud are correctly assembled;
- gaskets are clean, flexible and present;
- no dust is trapped across a sealing surface;
- the bag door or bin latch is not cracked.
Empty dusty material in a suitable location and avoid compressing a disposable bag to create more capacity. Replace a damaged collector, seal or latch rather than taping it closed.
3. Verify Every Required Filter
Dust at the exhaust demands an immediate filter check. A filter may be absent after cleaning, installed backward, not fully seated, damaged during washing, the wrong replacement, or overloaded by fine material.
Use the exact manual to identify all filter stages. Many vacuums have both pre-motor and post-motor filters. Some are washable, while others must remain dry and be replaced. Never operate the vacuum without every required filter in its specified position.
Inspect for:
- torn pleats, separated seams or holes;
- a warped frame or missing gasket;
- dust bypass marks around the edge;
- a filter installed in the wrong orientation;
- a cover that does not fully latch;
- dampness after washing;
- a replacement that does not match the exact model.
If washing is allowed, clean and air-dry the element for the model's specified time. Do not use heat to accelerate drying. Shark manuals similarly instruct users to clean and completely dry approved filters before reinserting them, but their part layout should not be transferred to unrelated machines.
4. Clear the Intake, Wand and Hose
A blockage can make debris fall back out of the floorhead, pulse inside the hose or escape at the weakest joint. Dyson support includes “spitting out dust” branches that route users through the duct, internal hose, entry seal, bin and hose seating.
Inspect the user-accessible path in order:
- floorhead intake and brush chamber;
- floorhead neck and swivel;
- wand or rigid extension;
- flexible hose and both cuffs;
- collector inlet and accessible duct;
- separator or bag-entry area.
Use the approved blockage-removal method. Sharp tools can puncture a hose, damage wiring in a powered wand or push an obstruction deeper. If suction is also weak, use the complete WCB vacuum losing suction guide.
5. Inspect Hoses, Joints and Seals
A split hose can leak dust when debris strikes the opening, while a loose cuff or missing gasket can release material at a connection. Flex the disconnected hose gently and inspect between corrugations. Check both cuffs, wand latches, accessory joints and the collector inlet.
Look for a trail of fine dust around one side of a seal. That pattern may reveal the bypass point even after the machine is off. Clean the mating surfaces without stretching a gasket, then reinstall the parts until their specified latch engages.
Do not tape over a vent, valve or unknown opening. Some openings protect airflow or relieve suction. Replace a verified cracked hose, seal or latch with the correct model part.
6. Consider the Material Being Collected
A normal household vacuum may not be designed for large quantities of drywall dust, plaster, cement, toner, flour, fireplace ash, hot material, liquids or hazardous dust. Very fine particles can pass through an unsuitable collection system or load its filters rapidly.
Check the manual's prohibited materials and the required filtration or bag class for the task. Do not vacuum hot or smoking ash. Do not use a general dust leak test with substances that are combustible, toxic, biologically contaminated or otherwise require controlled cleanup.
If fine material has reached the motor side of the filter, stop. Opening the motor housing can spread contamination and expose high-speed or electrical components. Use qualified service or the appropriate controlled disposal route.
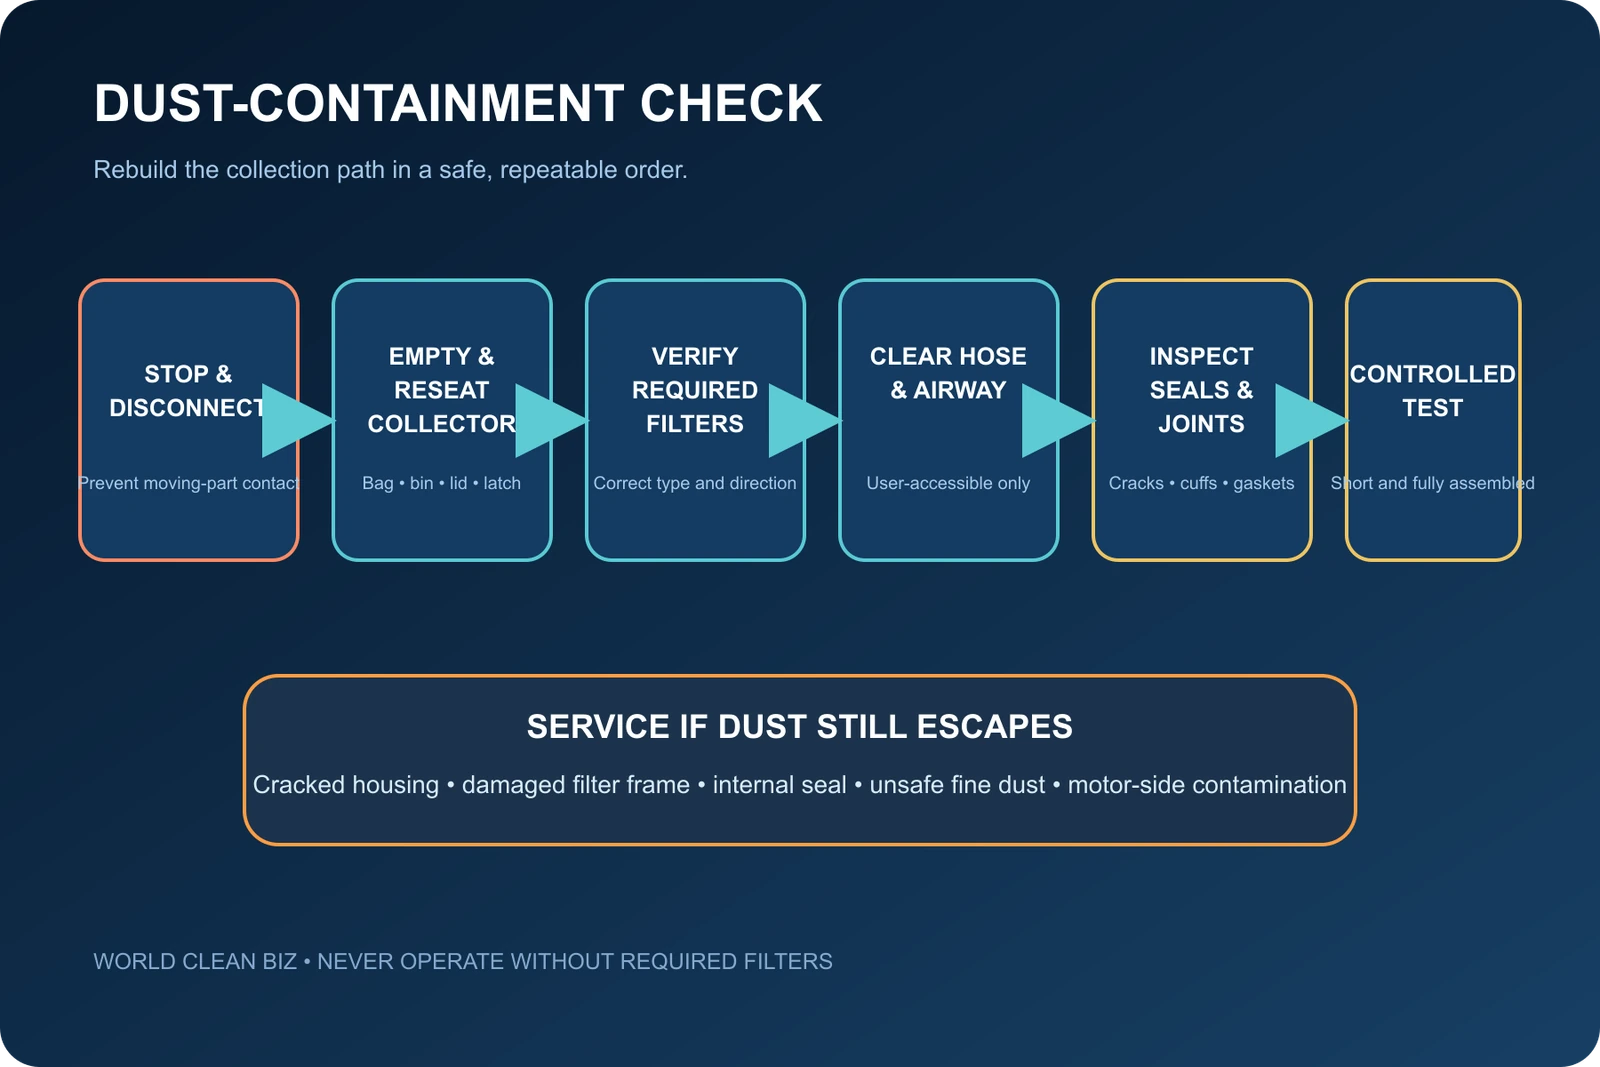
7. Reassemble and Make One Controlled Test
After correction:
- confirm the bag or bin, separator, filters, covers and hoses are installed in the correct order;
- verify every washable part is completely dry;
- clean dust from external sealing surfaces;
- choose the correct floor and brush setting;
- test a small amount of ordinary, permitted household debris on a clear surface;
- observe the original escape point and exhaust from a safe distance;
- stop immediately if dust, heat, odor or abnormal noise returns.
Do not run the vacuum without a collector or filter to determine whether airflow improves. That test can contaminate the motor and room.
When to Use Authorized Service
Use qualified service when:
- the housing, collector mount, bag door or filter frame is cracked;
- a seal or internal duct cannot be reached within the manual's user-serviceable boundary;
- dust has passed to the motor side of a required filter;
- the correct bag, bin and filters still do not contain ordinary debris;
- the vacuum also overheats, smells burnt, sparks or makes an internal grinding noise;
- a powered hose, wand or floorhead has damaged wiring;
- the material requires hazardous-dust containment;
- one fully reassembled controlled test still releases dust.
If the vacuum becomes hot during the fault, follow the vacuum overheating guide. If the first symptom is an unusual sound, use the vacuum loud-noise guide.
FAQ
Why is my vacuum blowing dust out of the exhaust?
A required filter may be missing, damaged, loaded, incorrectly seated or the wrong part. Fine material may also exceed the vacuum's intended filtration. Stop and verify the complete filter system before reuse.
Why does my vacuum push dirt away on hard floors?
A rotating brush, wrong floor setting, blocked intake, incorrect height or oversized debris can scatter material before it enters the nozzle. Inspect the floorhead and use the approved hard-floor mode.
Why does dirt fall out when I turn the vacuum off?
The airway may be blocked, the collector may be full, or an intake flap or seal may not retain debris. Disconnect power, empty the collector and inspect the accessible intake path.
Can I run a vacuum without the filter to test it?
No. Operating without required filters can release dust and contaminate or damage the motor. Install the correct filters before any controlled test.
Can a cracked hose blow dust into the room?
Yes. Dust can escape through a split or loose cuff, especially as debris changes direction. Inspect the entire disconnected hose and replace a verified damaged part.
Is drywall dust safe for a household vacuum?
Not necessarily. Fine construction dust can overload or pass through systems not designed for it. Follow the vacuum manual and use equipment and filtration rated for the specific material.
Final Answer
When a vacuum cleaner blows out dust, locate the escape point first. Check floorhead scatter separately from leaks at the hose, collector or exhaust. Then empty and correctly seat the bag or bin, verify every required filter, clear user-accessible airways and inspect joints and seals.
Stop if dust reached the motor side, the housing is damaged, the material requires special containment or correct reassembly does not solve the leak. Never operate without required filters or use repeated dusty tests to locate the fault.