- First separate a robot that cannot find or align with the dock from one that sits on the dock but does not charge.
- Check dock power and placement, the return route, starting point, map state, accessible sensors and wheel movement before deleting maps or replacing hardware.
- Use a short near-dock return test to separate a local docking problem from a whole-home navigation problem, and keep internal sensor, wheel and dock repairs within authorized service.
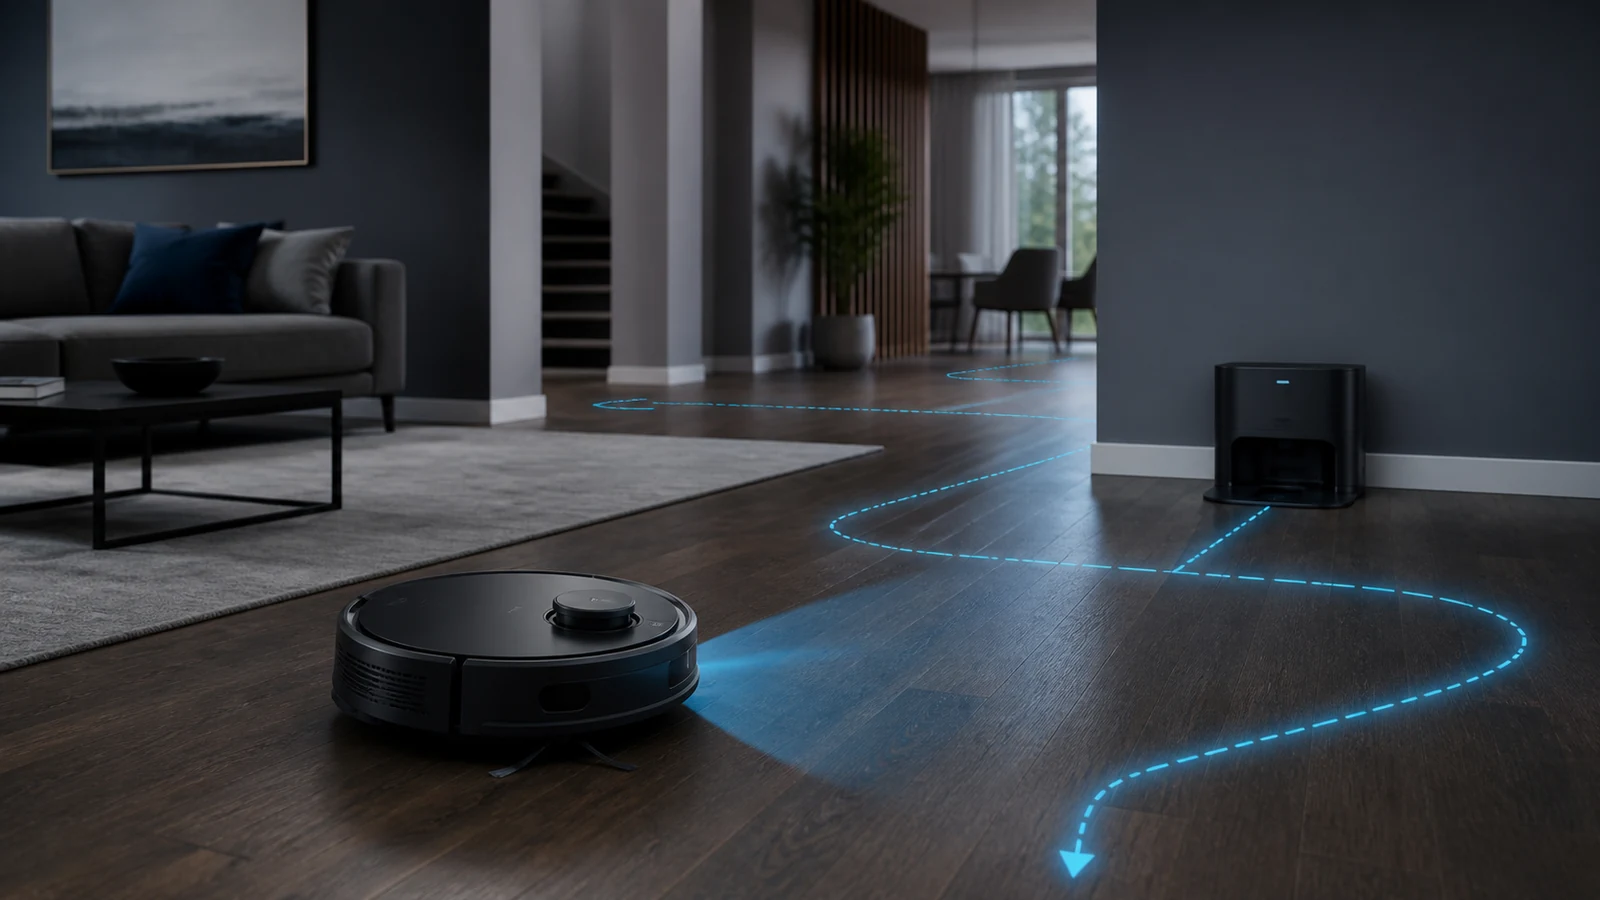
If your robot vacuum is not returning to its dock, first confirm that the dock is powered, has not moved and can be approached normally. Then check whether the robot started from the dock, whether a closed door or obstacle blocks the return route, whether the map still places the dock correctly, and whether the robot's accessible navigation sensors and wheels are clean and moving normally.
Do not delete the map or factory-reset the robot as the first step. A short test from directly in front of the dock can show whether the problem is local to the dock and final alignment or appears only when the robot must navigate across the home. Record the App map, error message, dock light and exact point where the return fails before changing anything.
Return-to-Dock Problems at a Glance
| What the robot does | Main area to investigate | First safe check |
|---|---|---|
| Stops in another room | Route, battery, map, closed door or obstacle | Review where it stopped and whether the route stayed open |
| Reaches the dock area but searches repeatedly | Dock signal, placement, map location or interference | Confirm power, normal clearance and an unchanged position |
| Approaches but turns away | Final alignment, ramp, bumper, wheels or contacts | Inspect the approach surface and accessible docking areas |
| Docks, then leaves again | Seating, contact stability or charging state | Use the separate charging diagnostic after confirming alignment |
| Returns only when started nearby | Whole-home route, localization or map problem | Compare a near-dock test with a normal full-route return |
| Fails after the dock was moved | Stored dock location or map consistency | Put the robot on the powered dock before the next model-approved run |
| Fails after the robot was carried | Lost localization or changed starting point | Return it to a known location using the exact manual's procedure |
| Gets stuck at the ramp | Wet floor, debris, wheel traction or station geometry | Dry and clear the approach without forcing the robot |
Docking behavior differs by navigation system and model. Some robots use an infrared signal for final approach, while mapped products may also use a stored dock position, cameras or LiDAR for broader navigation. Treat the exact manual and App message as authoritative.
First Separate Docking from Charging
A robot that cannot find or physically enter the dock has a return or docking problem. A robot that is already seated correctly but does not gain charge has a charging problem. Those symptoms overlap at the final contact point, but they do not have the same diagnostic path.
If the robot reaches the dock, aligns normally and shows a charging state, the return function has basically succeeded. If battery percentage does not rise, use the separate robot vacuum not charging guide rather than repeatedly rebuilding maps.
If the robot cannot reach the dock area, circles nearby, bumps the ramp or repeatedly backs away, remain on this page and isolate where the return sequence breaks.
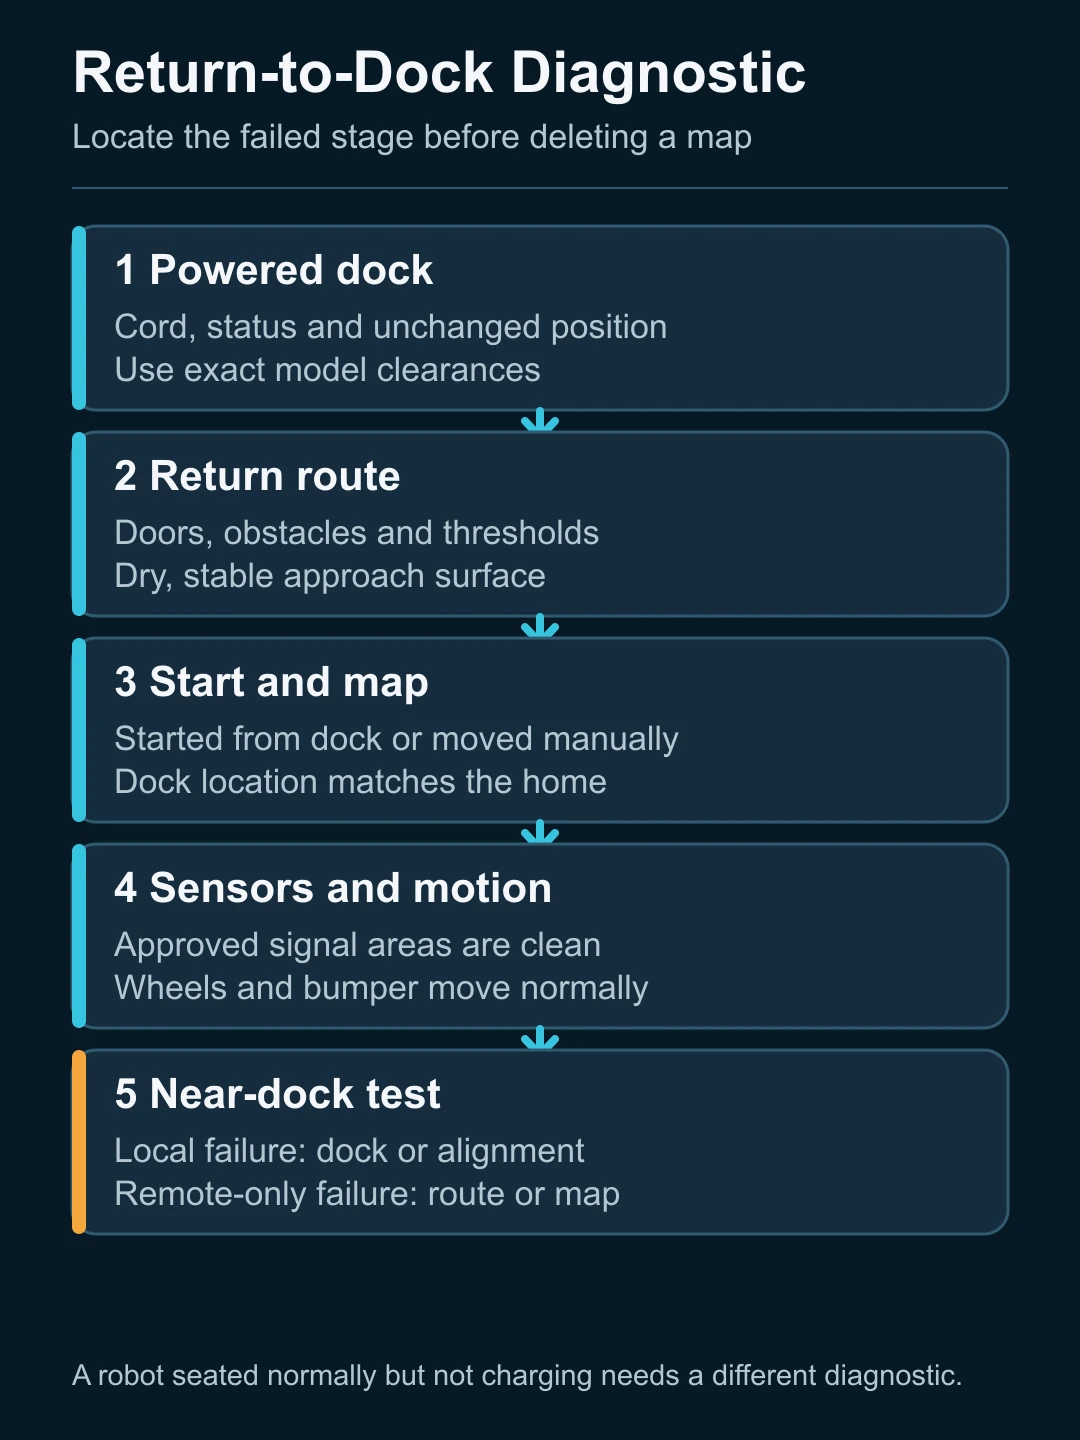
1. Confirm the Dock Is Powered and Has Not Moved
A dock may need power not only for charging but also for the signal or station behavior the robot expects during return. Check the outlet, external cord and dock status using the exact model instructions. Do not infer that the dock is powered only because it worked yesterday.
Ask whether anyone moved, rotated, unplugged or cleaned around the dock. A mapped robot may still show the old position in the App. Some official instructions recommend placing the robot on the dock and beginning the next job from there after the station has moved, while other models require a different map procedure.
Do not use one brand's required clearances as a universal rule. iRobot, Roborock, Dreame and eufy publish different placement distances for different bases. The durable principle is that the station should be stable, level, against the intended surface and accessible through the clearances specified for that exact product.
2. Inspect the Route, Not Just the Dock
The final meter is only one part of the return journey. A robot may fail because a door closed, a movable object entered a corridor, a threshold became difficult, a rug shifted, or the battery ran down after repeated recovery attempts.
Use the cleaning history or App map to identify where the robot stopped. Then walk the route from that point to the dock and check:
- doors and narrow passages;
- cables, toys, pet bowls and temporary obstacles;
- high thresholds or loose rug edges;
- dark, reflective or strongly backlit areas that affect the exact model's sensors;
- a wet or slippery surface in front of an all-in-one station;
- wheel or bumper movement if the robot repeatedly stalls.
Do not relocate the dock simply to make one test pass without recording the original placement. The useful evidence is whether the failure follows the route, the station position or the robot.
3. Check the Starting Point and Map State
Official support guidance from several brands notes that return behavior can depend on where the cleaning job began and whether the robot was moved manually. Some robots expect to return to the starting point when they were not launched from the dock. Others may lose localization after being carried.
Compare the App map with the physical home:
- Is the dock shown in the correct room and orientation?
- Are rooms duplicated, rotated, overlapped or missing?
- Did the dock or major furniture move after the map was created?
- Was the robot carried during the job?
- Did the cleaning start from the dock or from another room?
Preserve a screenshot before editing or replacing a map. A distorted map can support a remapping decision, but a factory reset is broader and may also remove schedules, room labels, restricted zones, account settings or other data.
4. Run a Near-Dock Return Test
The safest high-information test is usually a short model-approved return attempt from directly in front of the powered dock. Keep the robot oriented and positioned as the manufacturer instructs, then use the physical Dock/Home control or App command.
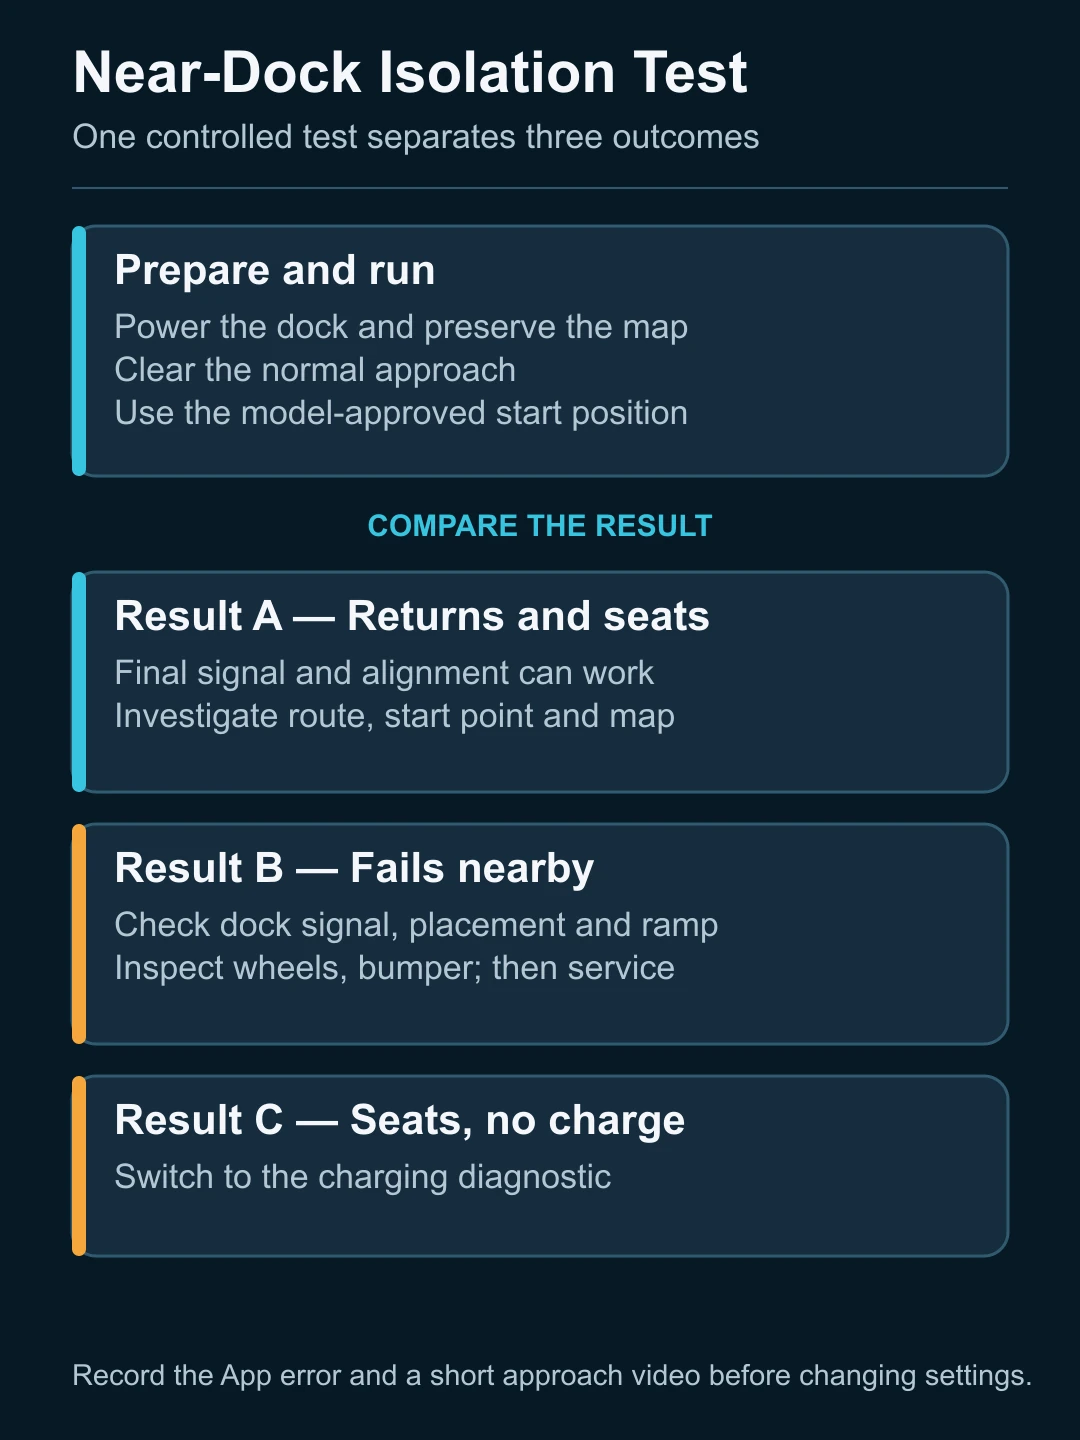
Interpret the result carefully:
- It returns and seats normally nearby: the final signal, approach and seating path can work. Investigate route access, start location, map consistency or range-dependent navigation.
- It finds the station but cannot climb or align: inspect the ramp, floor level, wheels, bumper and accessible docking surfaces.
- It does not react to the station nearby: confirm dock power and model-specific signal areas, then escalate if accessible cleaning does not help.
- It seats but immediately leaves or reports a charging error: move to charging diagnosis.
This is an isolation test, not proof that every sensor or map function is healthy.
5. Clean Only the Approved Sensors and Dock Areas
Dust, film, tape, stickers or residue on an accessible dock signal window, front sensor, bumper area or charging surface can interfere with the final approach on some models. Use only the cleaning method stated in the product manual. A dry or lightly dampened cloth may be permitted for one surface while moisture is prohibited on another.
Do not spray cleaner into sensor openings, scratch optical windows or dismantle the bumper to reach internal electronics. If the robot was recently disassembled, dropped or exposed to liquid, record that history for service because an internal connector or alignment problem cannot be confirmed from the outside.
6. Check Wheels, Bumper and Approach Traction
Final docking requires controlled low-speed movement. Hair around a caster, a jammed drive wheel, a compressed bumper, debris on a station ramp or an excessively wet floor can make a navigation problem look like a signal problem.
With power off and following the manual, inspect only user-serviceable wheels and brushes. Do not force the robot up the ramp or wedge it onto the dock. Forced alignment can damage contacts or hide the original symptom.
When to Rebuild the Map or Reset
Consider a map repair or remapping procedure only after dock power, placement, route access, accessible sensors and a near-dock test have been checked. A map action is more justified when the App clearly shows distortion, an incorrect station position or repeated localization failure.
Use a factory reset last. Before resetting, record maps, room names, restricted zones, schedules, firmware version, error codes and account ownership. Exact consequences and recovery steps differ by brand and software version.
When to Stop and Use Service
Stop ordinary troubleshooting when:
- the dock, cord or contacts show physical or heat damage;
- the robot or station has liquid intrusion;
- a wheel, bumper, LiDAR unit, camera or internal sensor does not operate normally;
- the robot fails a correct near-dock test after approved cleaning;
- the App reports a persistent hardware or docking error;
- repair would require opening a mains-powered dock or sealed robot enclosure.
Provide the model, serial number, proof of purchase, firmware version, App screenshot, map, exact error and a short video of the failed approach when requesting support.
What Dealers and Brands Should Record
“Will not dock” is not a sufficiently precise warranty description. Record the start location, remaining battery, dock position, surface, route, App map, error, near-dock test and whether final charging begins. This separates home-layout problems from repeatable product faults and helps prevent unnecessary replacement of batteries or complete stations.
For system-level sourcing risk, the robot vacuum manufacturing cost guide explains how navigation, batteries, docks and software create shared after-sales responsibility.
FAQ
Why does my robot vacuum return near the dock but not go onto it?
The problem is likely in the final approach rather than whole-home navigation. Check dock power and placement, the ramp or floor surface, accessible signal areas, bumper movement, wheels and model-specific clearance. Do not force the robot onto the base.
Can moving the charging dock stop a robot vacuum from returning?
Yes. A mapped robot may retain the previous dock location or need to re-localize. Follow the exact manufacturer's procedure after moving the station; do not assume every model requires a full map deletion.
Why does my robot return when nearby but not from another room?
That result points toward route access, map consistency, localization, starting point or range-dependent navigation rather than the final dock hardware alone.
Should I factory-reset a robot vacuum that cannot find its dock?
Not first. Preserve the map and error evidence, then check power, placement, route, sensors, wheels and a near-dock test. Reset only when the exact manual supports it and you understand what data will be removed.
Is a robot that docks but does not charge a navigation problem?
Usually not. If it reaches and seats correctly, use a charging diagnostic for dock power, contacts, temperature, battery and the internal charging path.
Final Answer
When a robot vacuum will not return to its dock, confirm the dock is powered and unchanged, inspect the full route, compare the map with the physical home and run a short return test from directly in front of the station. A successful nearby test points toward route or localization; a failed final approach points toward dock signal, placement, traction, wheels, bumper or internal hardware.
Preserve maps and errors before resetting anything. Keep internal navigation sensors, wheel assemblies and mains-powered dock repairs within authorized service.