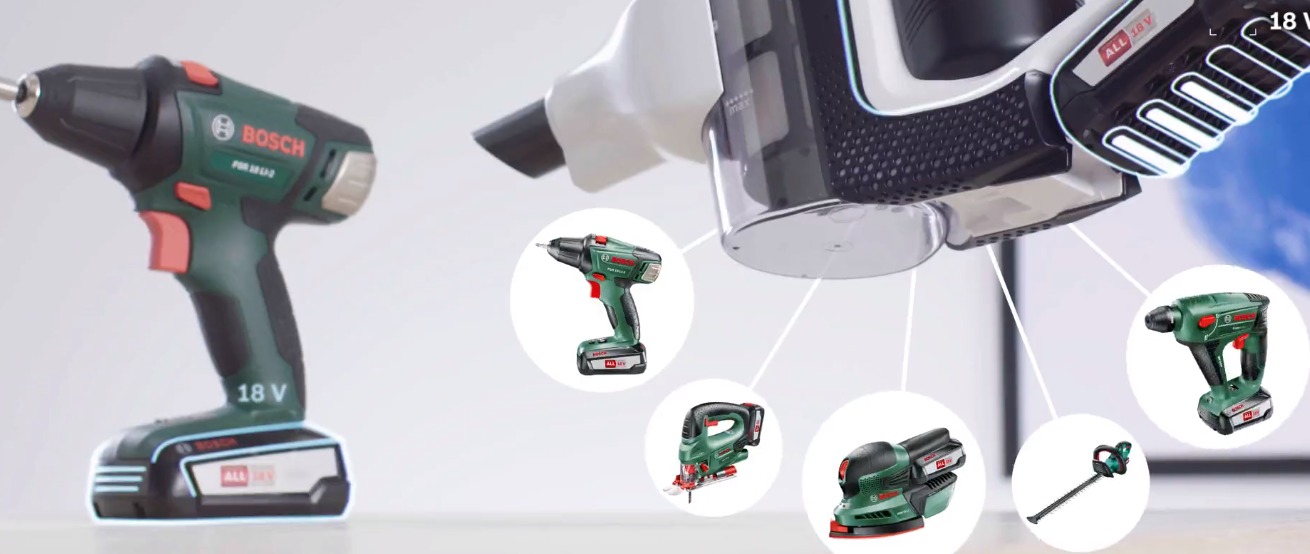
- Confirm whether the vacuum responds to its approved charger before deciding that the main body has failed.
- Power off the machine, inspect a removable battery's fit and accessible contacts, and check the controls and airflow path permitted by the exact manual.
- Stop for battery damage, unusual heat, burnt odor, liquid intrusion or a repeated electrical fault; do not open a lithium-ion pack or bypass a safety control.
In this article 13 sections
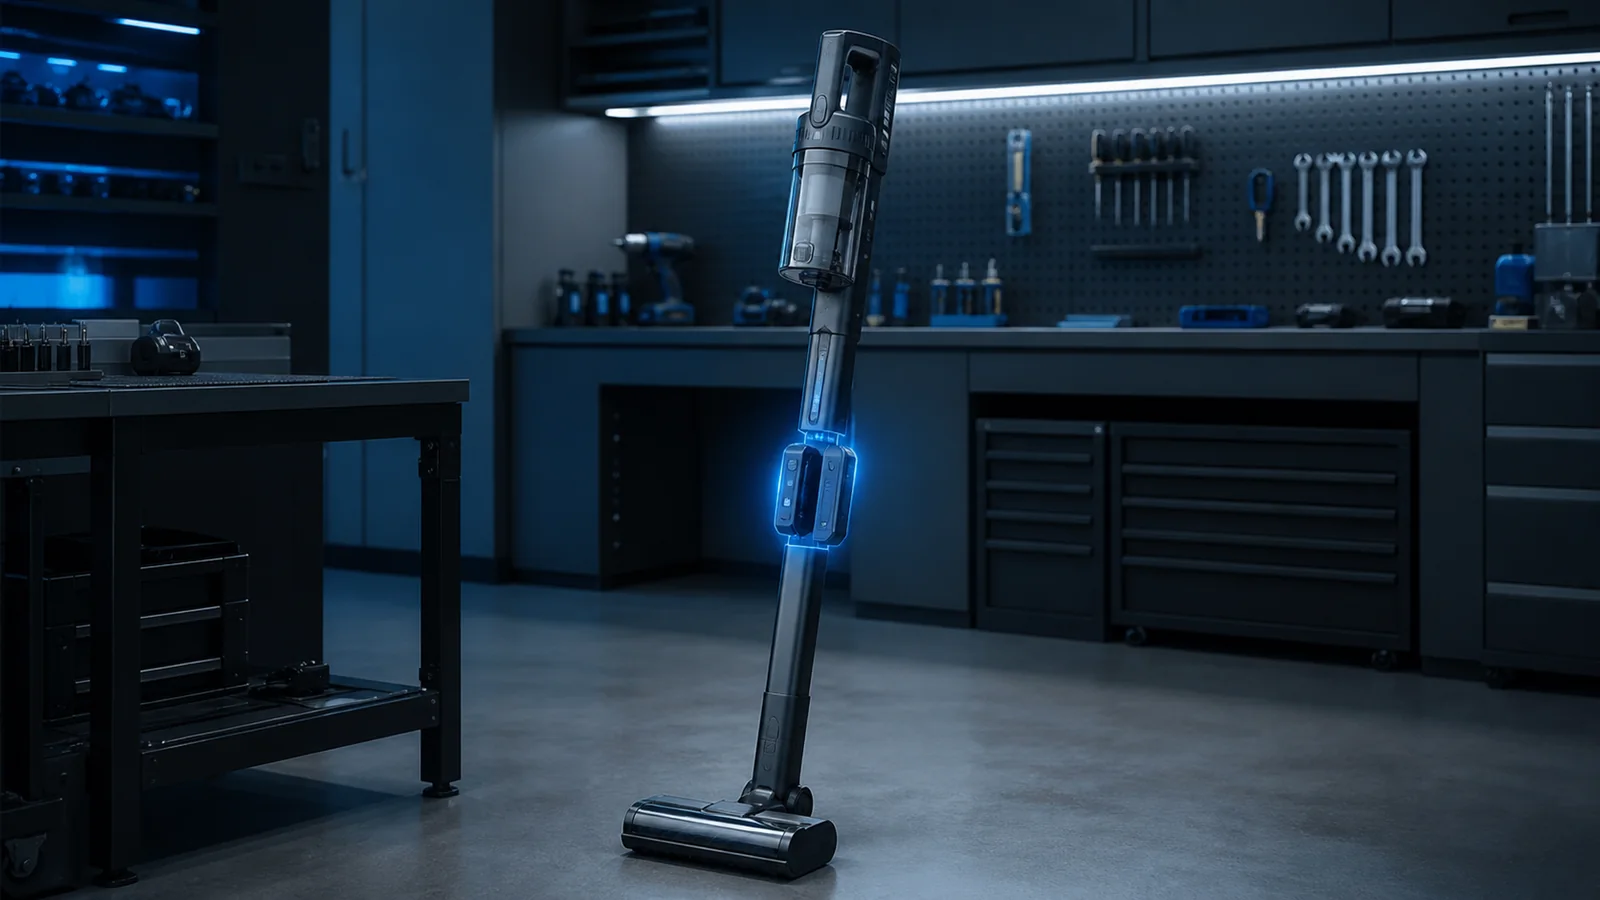
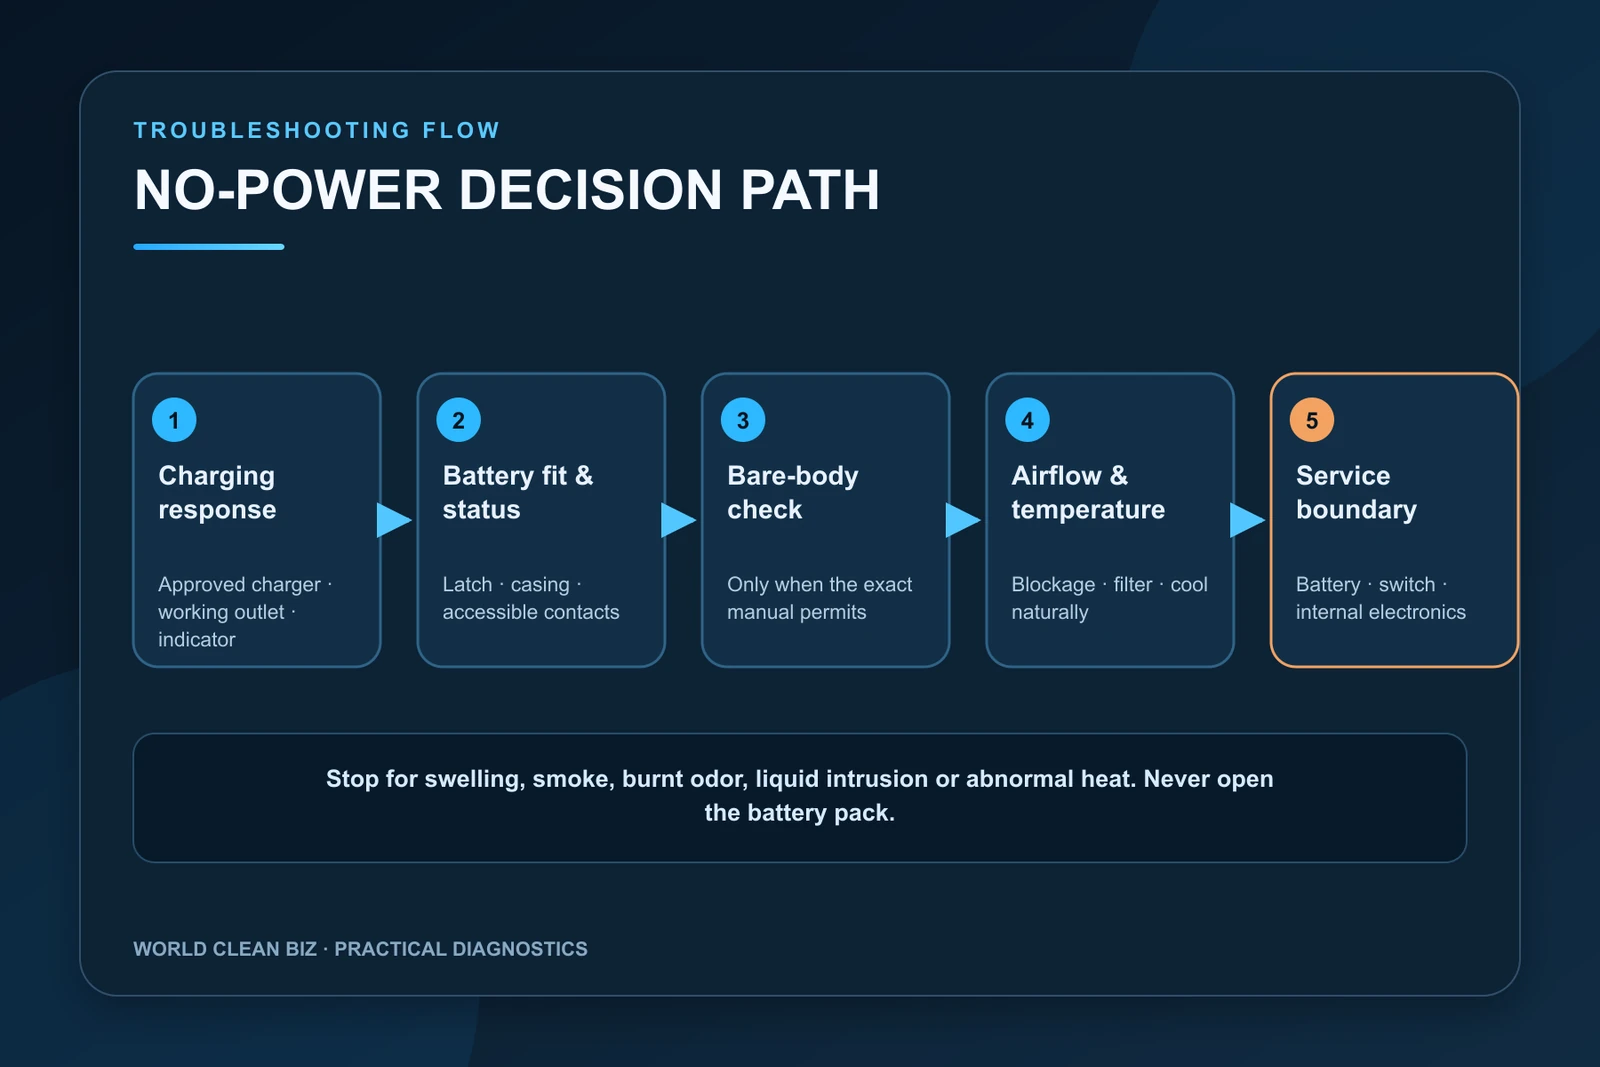
If your cordless vacuum will not turn on, first connect its exact approved charger and watch for the normal charging response. Then power it off, confirm that a removable battery is fully latched, inspect accessible contacts, check the trigger or power-button sequence and clear user-serviceable blockages. Let a hot or cold machine return to the temperature range in its manual. If the vacuum remains completely dead, the battery, switch, charger or internal electronics may require authorized diagnosis.
This problem is different from a vacuum that charges but runs only briefly, or one that starts and then cuts out. Identify the exact behavior before buying a battery or opening the machine.
No-Power Symptoms at a Glance
| What you observe | Leading area | First safe check |
|---|---|---|
| No light when charging or pressing power | Outlet, charger, battery connection or internal power path | Confirm a working outlet and the approved charger |
| Charging light appears but vacuum is dead | Battery fit, controls, lockout or main-body fault | Charge as directed, then check the exact start sequence |
| Screen or light shows a warning | Battery, temperature, blockage or service code | Record the pattern and use the model-specific manual |
| Motor runs without the floorhead | Floorhead, wand, connector or powered-tool jam | Inspect only user-removable parts and contacts |
| Vacuum starts after the battery is refitted | Battery latch, seating or accessible contacts | Reinstall securely and monitor for recurrence |
| Vacuum starts, then stops quickly | Airflow, brush load, heat or battery voltage | Use the separate cutout diagnostic path |
| Battery is swollen, damaged or unusually hot | Battery safety fault | Stop use and arrange approved service or recycling |
Stop Before Troubleshooting These Conditions
Do not continue charging or testing if you find:
- swelling, cracking, leaking or deformation of the battery;
- smoke, sparks, melted plastic or a burnt odor;
- a frayed charger cable, loose charging port or exposed wiring;
- unusual heat that returns after the product has cooled normally;
- liquid inside a dry-only vacuum, battery or charging connection;
- damage after a hard impact or use of an unapproved charger.
Do not open a lithium-ion battery pack, bridge its terminals, bypass a thermal device or improvise a direct power connection. Use the manufacturer’s battery and electronics service route.
1. Define “Won’t Turn On” Precisely
A completely dead vacuum shows no motor response, display, warning or indicator when the correct control is used. Other behaviors point to different diagnostic paths:
- It will not charge: begin with the WCB cordless vacuum charging guide.
- It starts and then stops: check the cordless vacuum cutout guide.
- The main body runs but the floor brush does not: use the brush-roll troubleshooting guide.
- It runs normally but loses power too quickly: diagnose runtime rather than the power switch.
Record the model number, battery type, last successful use and what changed immediately before the failure. A filter wash, battery removal, impact, storage in a hot vehicle or new attachment can be relevant.
2. Check for a Normal Charging Response
Use the exact charger approved for the model and market. Confirm a working wall outlet, make every external connection fully and leave the machine on charge for the period specified in its manual. A plug that physically fits is not proof of electrical compatibility.
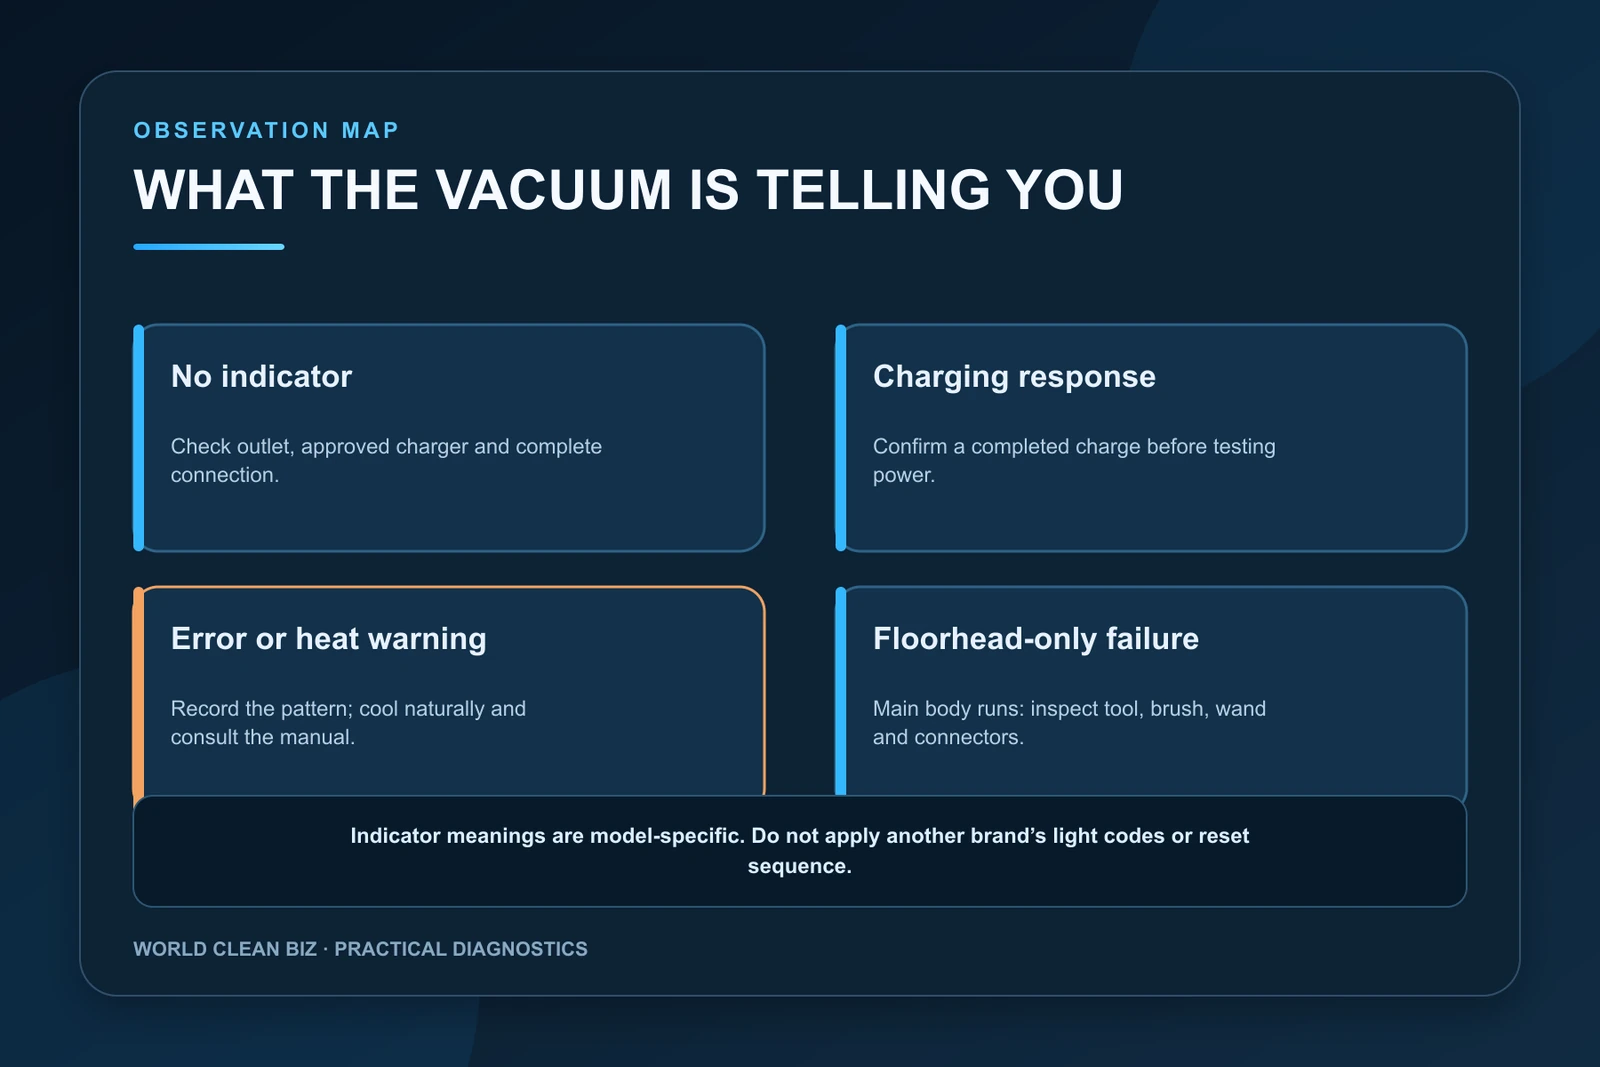
Observe whether the battery or vacuum shows any light, screen message or change in indicator state. Record the color, flashing pattern and duration. Indicator meanings are model-specific: the same flashing color can mean low charge, temperature protection or a fault on different products.
Dyson’s general no-power support routes cordless machines through model-specific battery and airway checks. Tineco’s official PURE ONE S11 no-power procedure begins with the battery charge, installation and accessible electrical contacts. These are useful diagnostic principles, but their icons and sequences should not be transferred to another model.
If there is no charging response either, the external power path, charger, dock, battery or charging electronics remains in scope. Do not assume that the power switch is the cause.
3. Reseat a Removable Battery
If the manual permits battery removal:
- switch the vacuum off and disconnect the charger;
- release the battery with the specified latch;
- inspect the casing, latch and accessible contact area without using metal tools;
- remove loose dry dust by the approved method;
- reinstall the battery until it is fully seated and latched;
- reconnect the approved charger and check the indicator again.
Do not scrape, bend or wet contacts. A recessed pin, loose latch, cracked housing or recurring connection loss needs service. Some cordless products charge only with the battery installed, so do not assume that a removable-looking pack is designed for off-machine charging.
4. Confirm the Correct Power-Control Sequence
Cordless vacuums may use a momentary trigger, a latching power button, a trigger lock, a two-step mode selector or a display control. Some products will not start while connected to the charger. Others have transport, storage or child-lock behavior.
Check the exact manual for:
- whether the button is pressed once or held;
- whether a trigger lock or control lock is active;
- whether the bin, filter cover or battery must be fully latched;
- whether the charger must be disconnected before use;
- what a lock, battery or warning symbol means.
Do not repeatedly force a sticky trigger or spray cleaner into a switch. A broken control, loose button or intermittent response should be diagnosed without opening the handle.
5. Separate the Main Body from the Powered Floorhead
Only if the manufacturer permits it, remove the wand and powered floorhead, then attempt one brief start with the bare main body. Keep fingers, hair and loose clothing away from the intake.
- Main body starts: inspect the wand, powered-tool connectors and floorhead for a jam or damaged connection.
- Main body stays dead: the battery, controls, main-body airflow protection or electronics remain the leading areas.
- Warning changes when an attachment is removed: record that evidence for support.
Tineco’s A10 Essentials no-start guidance checks the battery, filter, dustbin, tube and power brush. Shark’s IX140/IZ140 manual also treats battery state, overheating and blockage as connected diagnostic areas. Follow the disassembly limit of your own model.
6. Check Airflow and Brush Load
Some vacuums protect the motor or battery by refusing to run, pulsing or cutting out when airflow is restricted or a powered brush is jammed. With the vacuum off, inspect the bin, inlet, wand and user-accessible airway. Check the brush chamber and brush ends for hair, thread or a hard object.
Service the filter only as the manual directs. Not every filter is washable, and a washable filter must be completely dry before reinstallation. A damp filter can restrict airflow and expose the machine to moisture.
If the vacuum had become hot, allow it to cool naturally in a dry, ventilated room. Do not place the battery in a refrigerator or use external heat. A repeated thermal warning at normal room conditions requires support.
7. Interpret the Evidence Without Guessing
The observations narrow the likely area:
- No charger response and no power: verify the charger path before replacing the main body.
- Normal completed-charge indication but no power: battery output, switch, lockout or internal electronics may be involved.
- One approved battery works and another does not: the failing pack becomes the leading suspect.
- Bare main body runs but an attachment stops it: inspect the attachment, connector and brush system.
- The fault returns after cooling and clearing airflow: move to service rather than repeated tests.
Use only manufacturer-supported comparison parts. Buying an unverified battery and charger at the same time can introduce a second fault and erase useful diagnostic evidence.
When to Use Authorized Service
Use the manufacturer or qualified service when the vacuum remains dead after a confirmed charge and correct start sequence; the charging port, battery latch or switch is damaged; a warning returns after approved cleaning and cooling; one part becomes hot; or internal wiring, battery-management electronics or motor control must be tested.
Provide the exact model, serial number, charger part number, indicator pattern and the results of the attachment test. This is more useful than stating only that the vacuum “has no power.”
FAQ
Why is my cordless vacuum fully charged but not turning on?
The indicator may not prove usable battery output. Check the battery fit, exact power sequence, control lock, bin or cover latches, airflow and attachments. A persistent failure can involve the battery, switch or main electronics.
Can a blockage stop a cordless vacuum from starting?
On some models, a blockage, loaded filter or jammed powered head can trigger protection. Power off the machine and clear only the user-serviceable airflow and brush areas described in the manual.
Should I reset my cordless vacuum?
Use only a reset sequence published for the exact model. There is no universal button combination, battery-removal time or charging cycle that safely resets every cordless vacuum.
Why does the vacuum work without the floorhead?
The floorhead may be jammed, its brush motor may be overloaded, or the connector or wand may be damaged. Inspect the brush chamber and accessible contacts before service.
Does a dead vacuum always need a new battery?
No. The charger, battery seating, power control, lockout, attachment, airflow protection or internal electronics can produce similar symptoms. Confirm the evidence before ordering parts.
Final Answer
When a cordless vacuum will not turn on, confirm a normal response from the exact approved charger, fully seat a removable battery, check the correct power-control sequence and inspect user-serviceable airflow and powered-tool areas. Compare the bare main body only if the manual permits it.
Do not open the battery or bypass safety controls. Battery damage, abnormal heat, burnt odor, liquid intrusion or a persistent no-power condition belongs with authorized service.